Français
 Español
 Deutsch


Content
- 1 1. The Role of Self-Tapping Inserts in Modern Assembly
- 2 2. What Is a Self-Tapping Insert Installation Tool?
- 3 3. One-Step Installation Without Pre-Tapping
- 4 4. Coaxial Guidance and Alignment Accuracy
- 5 5. Controlled Torque for Different Base Materials
- 6 6. High Wear Resistance and Service Life
- 7 7. Lightweight Design for Manual and On-Site Use
- 8 8. Product Advantages Compared with General-Purpose Alternatives
- 9 9. Comparison of Installation Methods
- 10 10. Applications in Plastics and Light Alloys
- 11 11. Manufacturing Process and Technical Strengths
- 12 12. Quality Management and Traceability
- 13 13. Installation Procedure
- 14 14. Common Installation Problems and Solutions
- 15 15. Design Considerations for Engineers
- 16 16. Why Manufacturer Experience Matters
- 17 17. Purchasing and Supplier Evaluation
- 18 18. Maintenance and Tool Management
- 19 19. Sustainability and Cost Efficiency
- 20 20. Frequently Asked Questions
- 20.1 Q1: What is a self-tapping insert installation tool used for?
- 20.2 Q2: Is pre-tapping required before installing a self-tapping insert?
- 20.3 Q3: Can the tool be used for plastic components?
- 20.4 Q4: Can it be used with aluminum panels?
- 20.5 Q5: Why is coaxial alignment important?
- 20.6 Q6: How is installation torque selected?
- 20.7 Q7: Can one tool install every self-tapping insert?
- 20.8 Q8: What causes a plastic boss to crack during installation?
- 20.9 Q9: How can tool life be extended?
- 20.10 Q10: Is the tool suitable for production lines?
- 20.11 Q11: Can the tool be used for thread repair?
- 20.12 Q12: What information should be provided when requesting a quotation?
- 21 21. Conclusion
- 22 References
- 23 Product: Self-tapping Insert Installation Tool
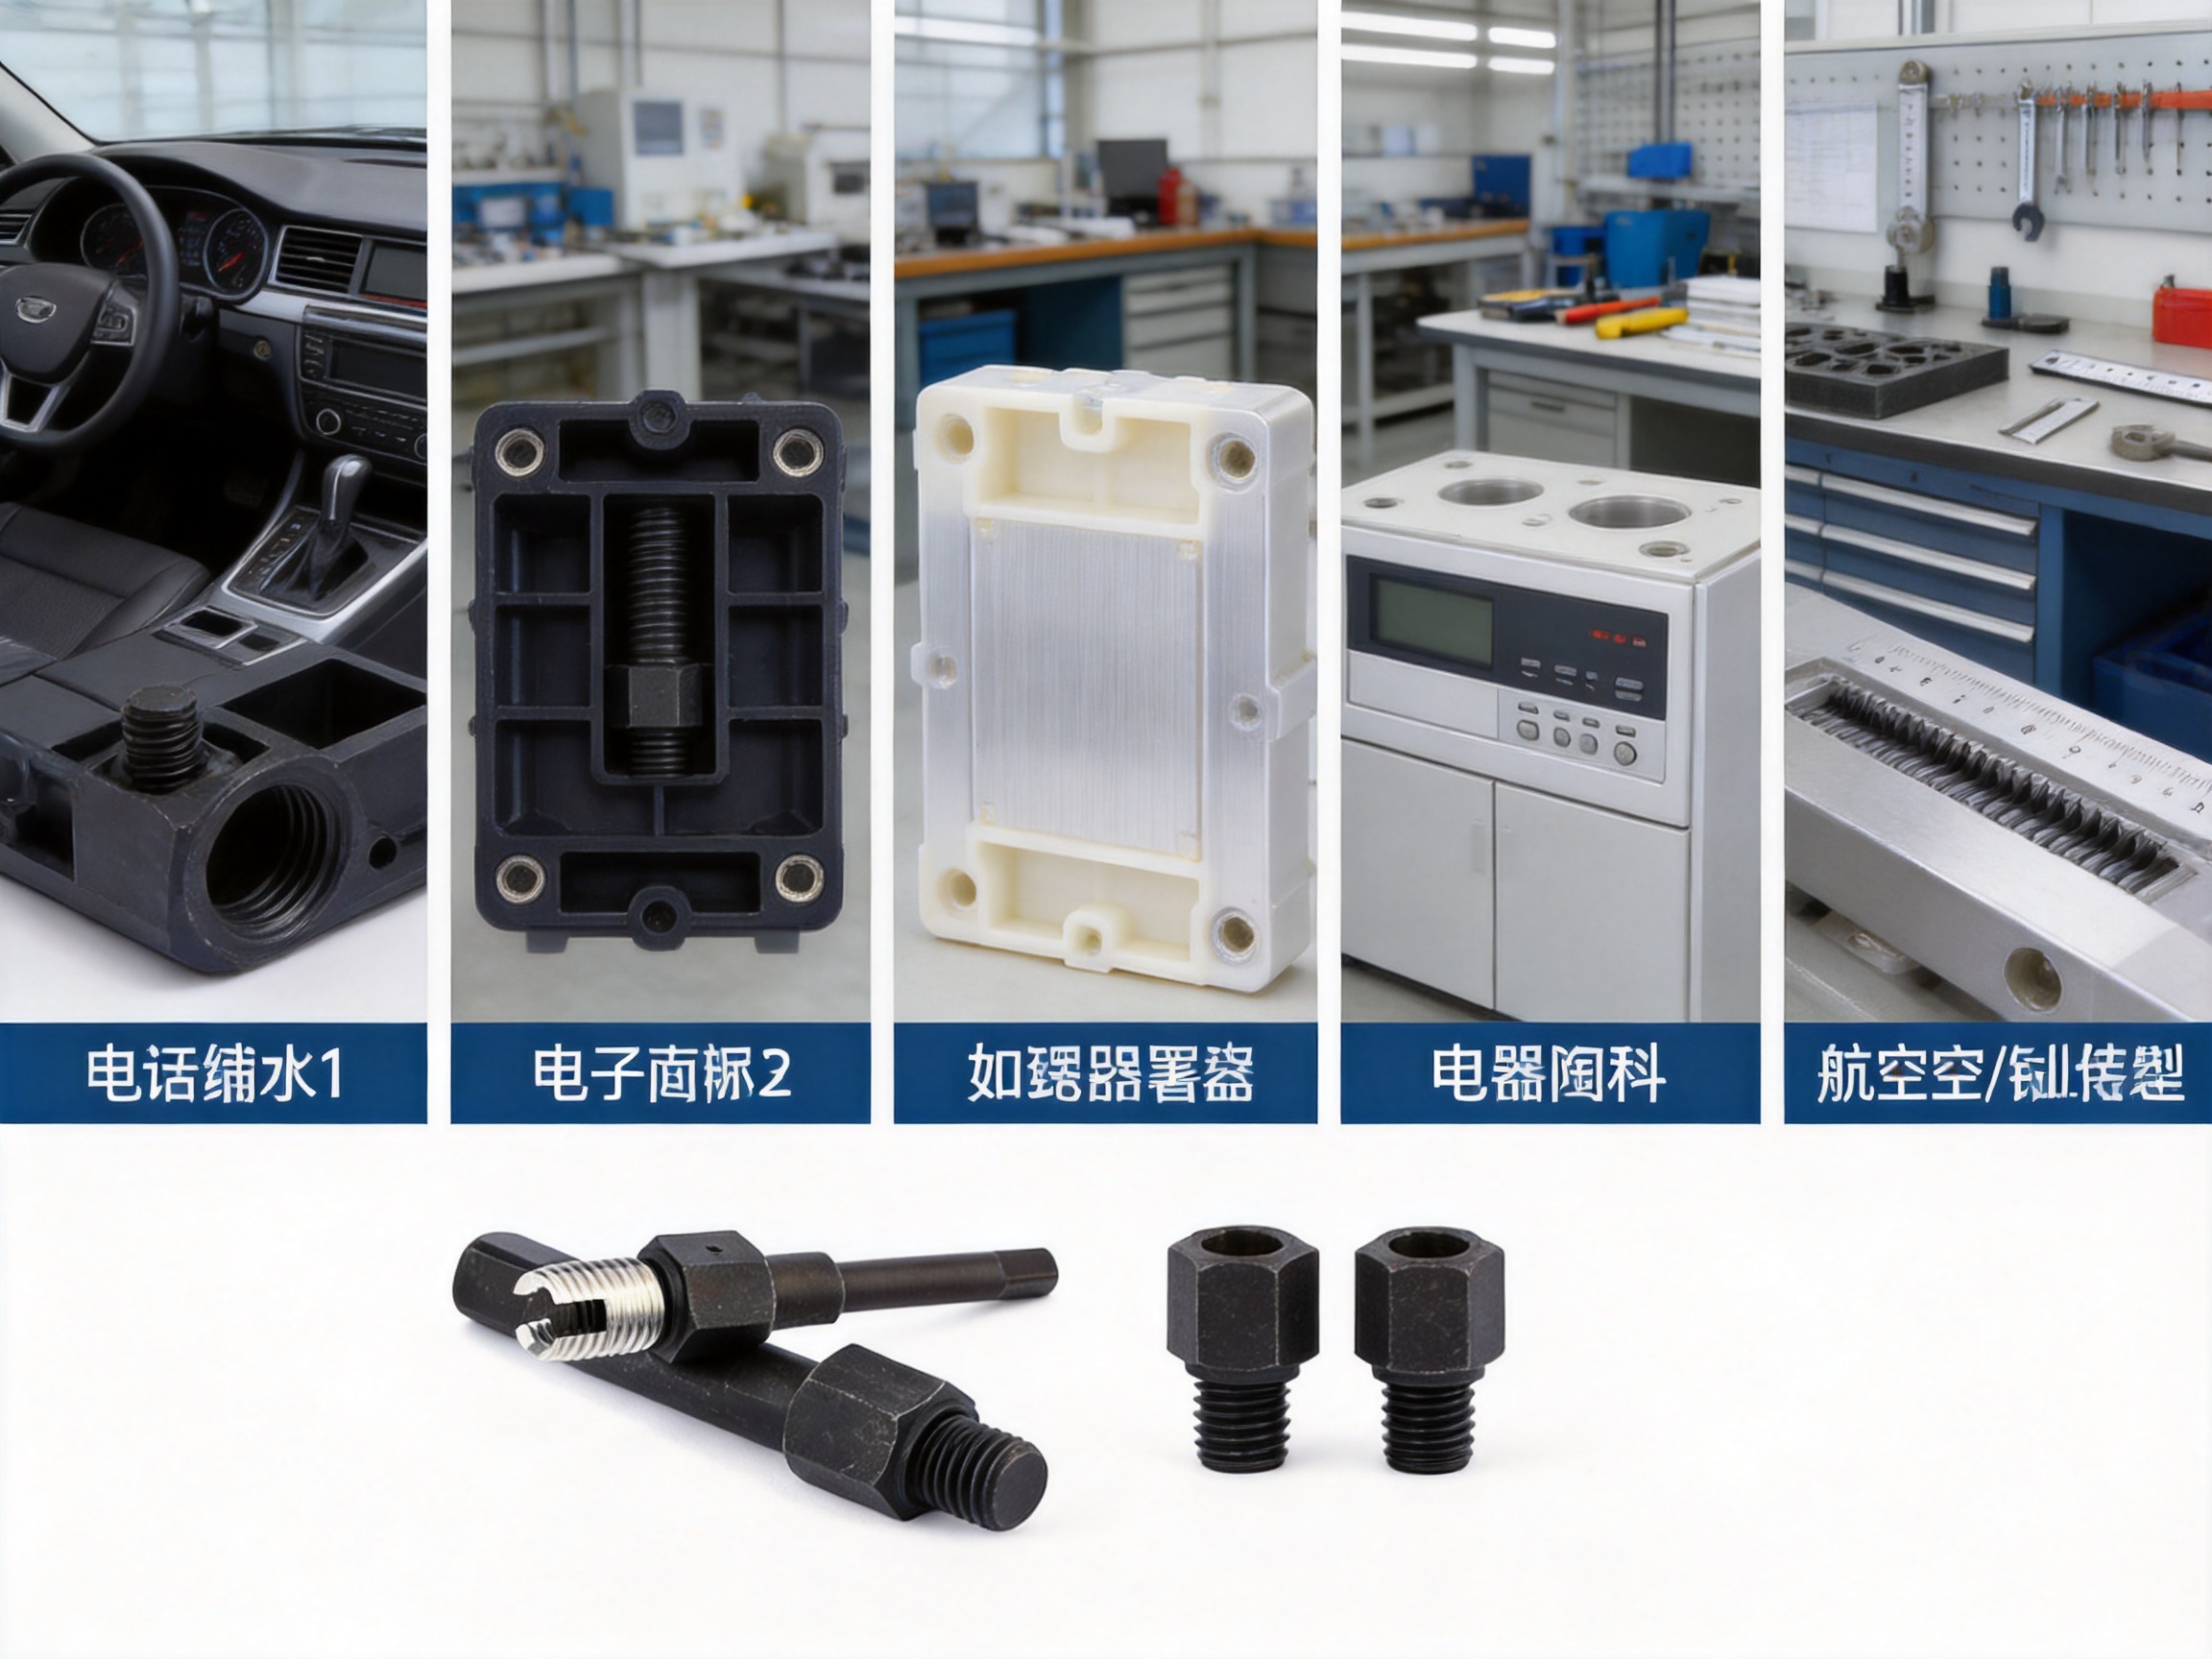
Modern manufacturing increasingly depends on secure threaded connections in materials that are lightweight, cost-effective, and easy to process. Plastics, aluminum alloys, magnesium alloys, and other low-hardness materials are widely used in electronics, automotive components, household appliances, rail vehicles, and aerospace assemblies. However, these materials do not always provide the same thread strength, wear resistance, or dimensional stability as steel. A self-tapping threaded insert offers an effective solution by creating a durable internal thread inside a prepared hole, while the installation tool determines whether that solution performs consistently in production.
The self-tapping insert installation tool is a specialized driver developed for installing self-tapping threaded inserts without the conventional pre-tapping operation. By combining controlled torque transfer, coaxial guidance, and a suitable drive interface, the tool allows the insert to cut or form its own external thread as it enters the base material. This one-step installation process can simplify production, shorten assembly time, reduce tooling requirements, and improve the reliability of threaded connections in low-strength components.
Dongtai Jinzhize Metal Products Co., Ltd. manufactures threaded connection products and complementary installation equipment for industrial customers. Its product range includes helical wire inserts, self-tapping inserts, key-locking inserts, threaded adapters, oil plugs, installation taps, and related tools. The company’s experience in threaded fastening systems supports the development of installation tools that are matched to practical insert applications rather than designed as generic hand tools.
This article examines the construction, operating principles, advantages, applications, manufacturing strengths, quality considerations, and purchasing factors associated with self-tapping insert installation tools. It also explains why the tool is an important part of the complete fastening system and how a specialized manufacturer can help users improve assembly consistency and reduce connection-related risks.
1. The Role of Self-Tapping Inserts in Modern Assembly
A threaded insert is installed into a component to provide a stronger, more durable, or more serviceable threaded connection than the base material can provide on its own. In a plastic housing, for example, repeatedly removing and tightening a standard screw may gradually strip the molded thread. In an aluminum panel, a direct tapped thread may be too short or too weak to withstand vibration, repeated maintenance, or high tightening loads. A self-tapping insert addresses these limitations by creating a hardened internal thread while engaging the surrounding base material through an external cutting or forming profile.
Unlike a conventional insert that requires a previously tapped hole, a self-tapping insert is designed to enter an untapped or specially prepared pilot hole. As the insert advances, its external cutting features create a mating thread in the surrounding material. The insert therefore performs two functions: it reinforces the connection point and establishes the internal thread required for a screw or bolt.
The installation tool is essential because the insert must enter the hole at the correct angle, receive sufficient torque, and stop at the proper depth. If the insert is tilted, the external thread may engage unevenly. If the torque is too low, the insert may stop before reaching the intended position. If the torque is too high, the base material may crack, deform, or lose its holding strength. A purpose-built driver helps control these variables.
In production environments, the tool is not merely an accessory. It is part of the installation process and directly affects the performance of the finished connection. The insert, pilot hole, driving interface, torque setting, installation depth, and base material must work together as one system.
2. What Is a Self-Tapping Insert Installation Tool?
A self-tapping insert installation tool is a driver designed to hold and rotate a self-tapping threaded insert while guiding it into a prepared hole. Depending on the application, the tool may be operated manually, with a torque-controlled hand driver, or with a powered assembly system. Its principal purpose is to transfer rotational force from the operator or drive unit to the insert while maintaining stable alignment.
The tool normally includes a drive section, an insert-holding interface, a guiding or centering structure, and a body manufactured from wear-resistant material. In adjustable versions, the system may also include a torque-control mechanism or may be used with a separate torque-limiting driver. The configuration can be adapted to different insert sizes and internal thread specifications.
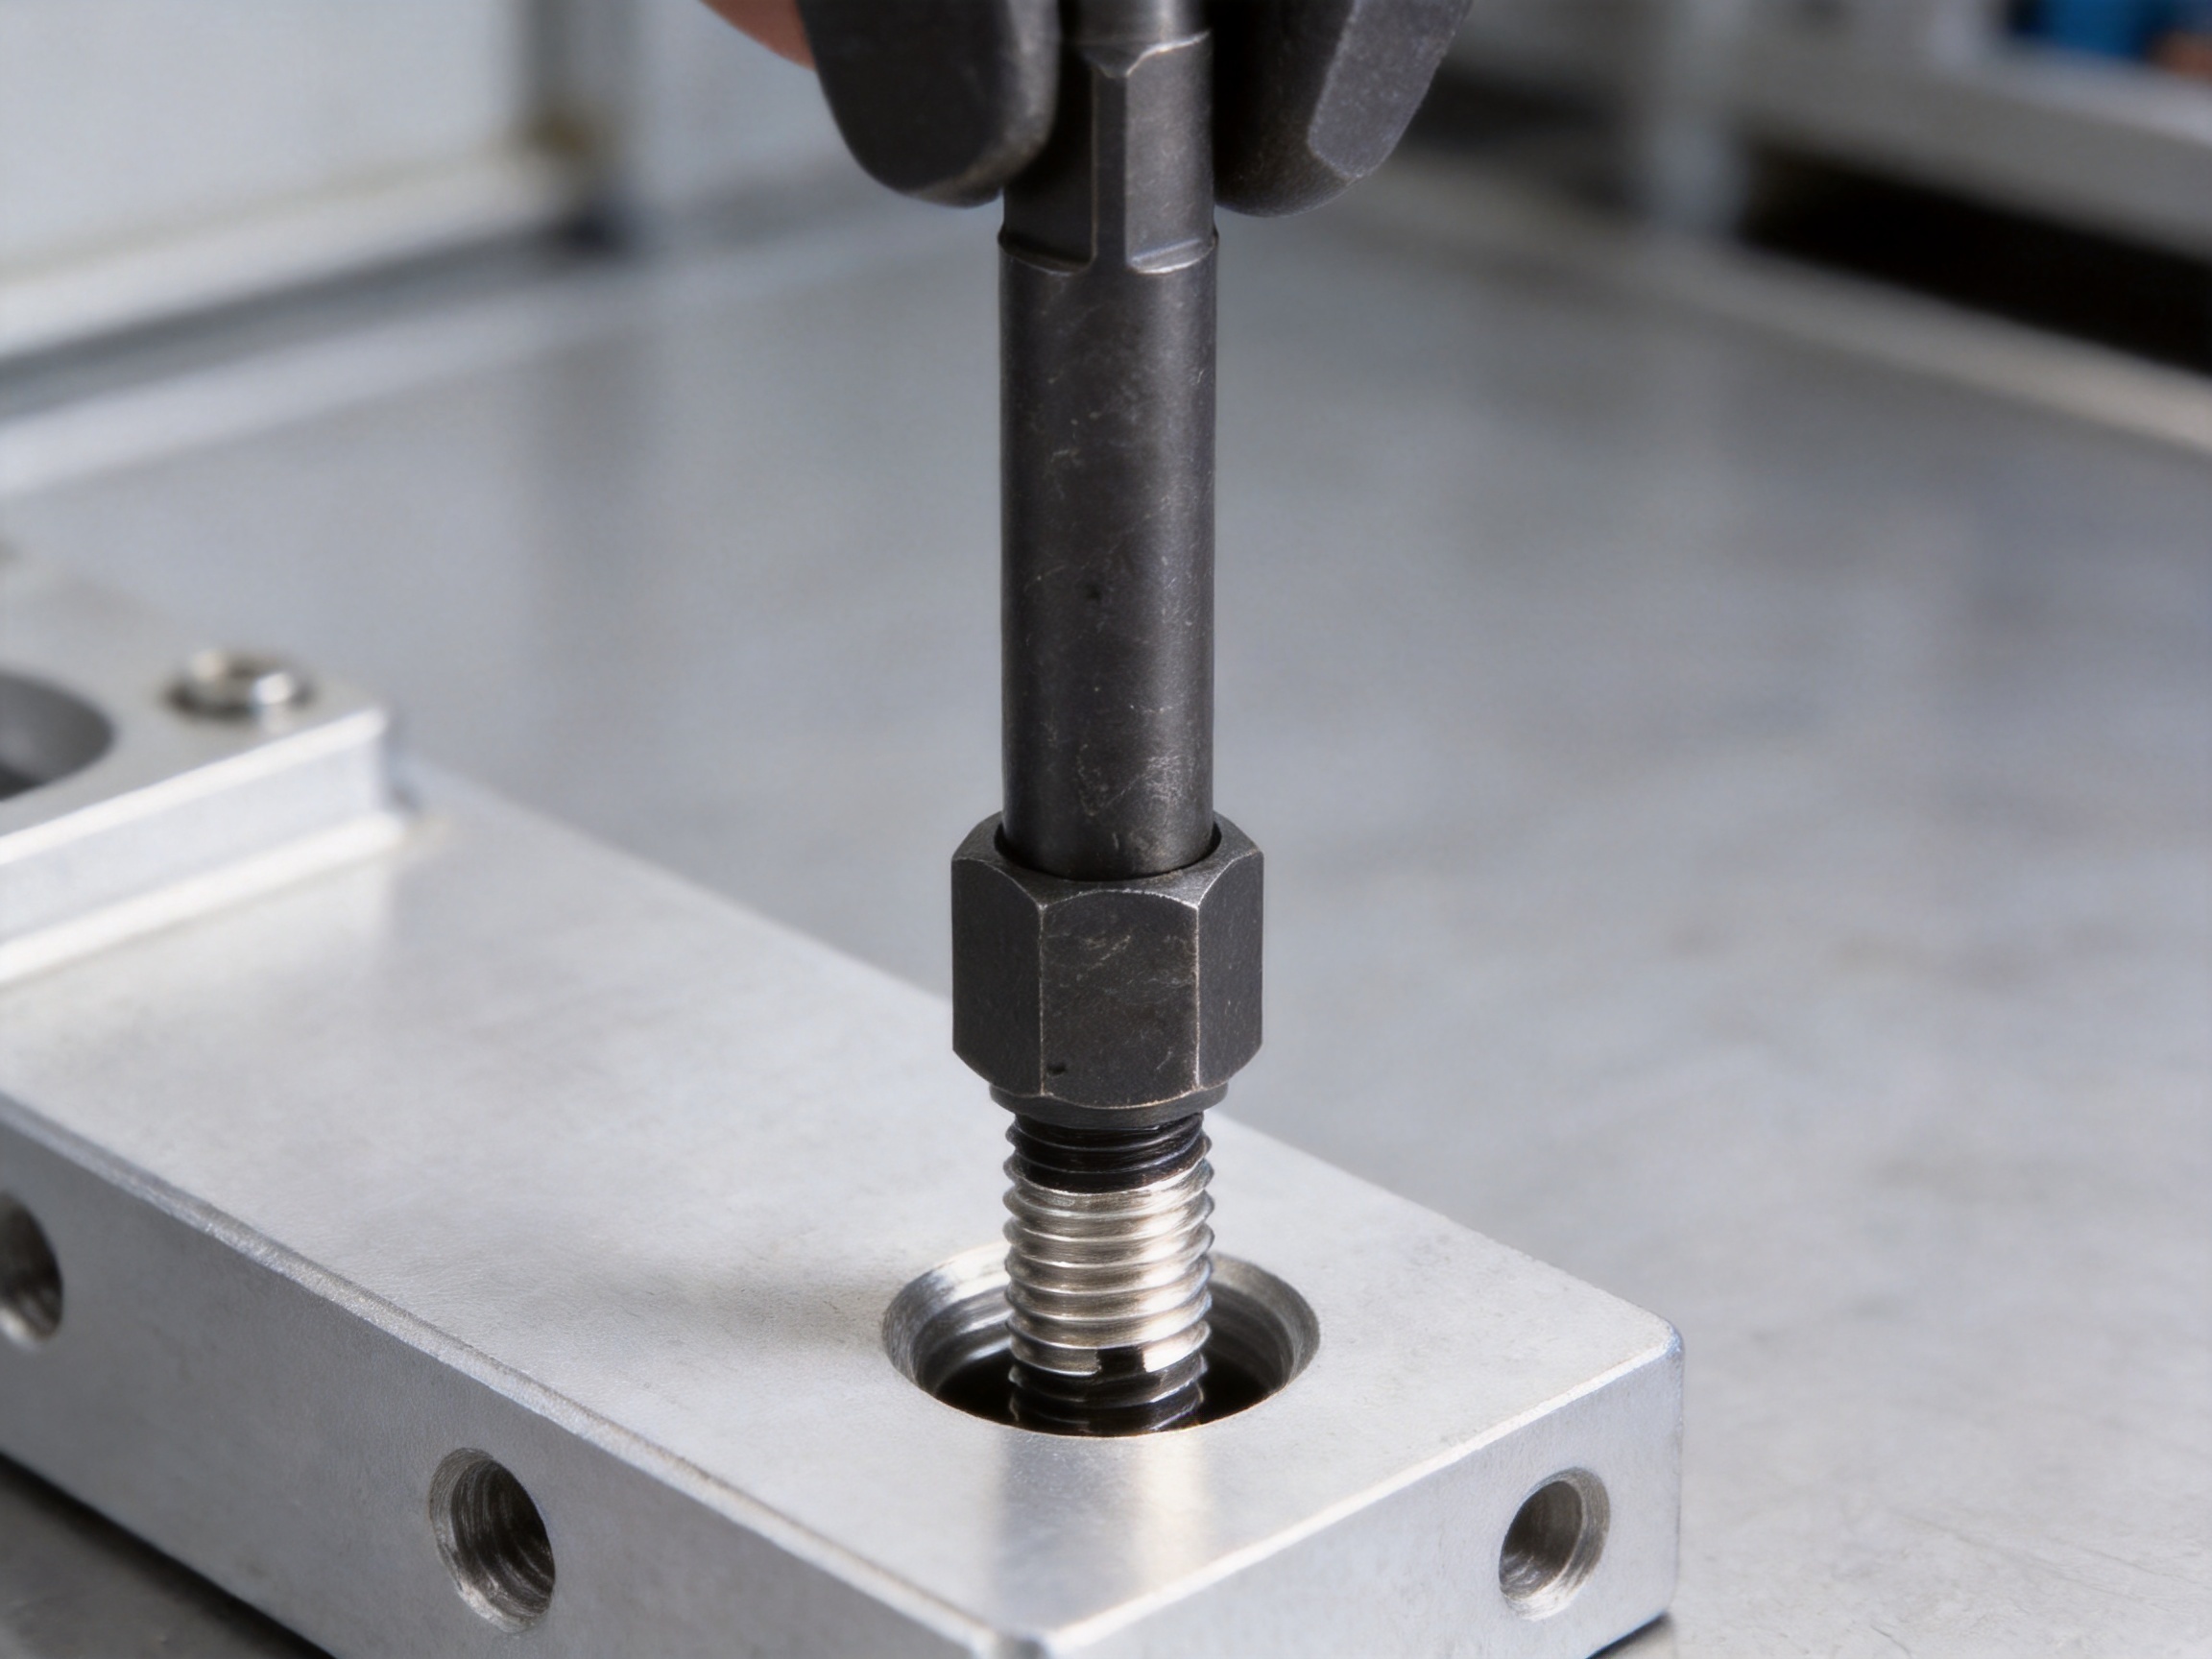
During installation, the operator positions the insert over the pilot hole and applies axial pressure while rotating the tool. The self-tapping insert begins to cut or form the external thread in the base material. The tool keeps the insert aligned with the hole, allowing the external thread to engage progressively around the circumference. Once the insert reaches the required depth, the tool is withdrawn, leaving the internal thread available for the final screw or bolt.
Compared with improvised methods such as using pliers, a standard socket, or an incorrectly sized screwdriver, a dedicated installation tool delivers more predictable results. It reduces the possibility of damaging the insert, rounding the drive feature, tilting the insert, or applying an uncontrolled load to the workpiece.
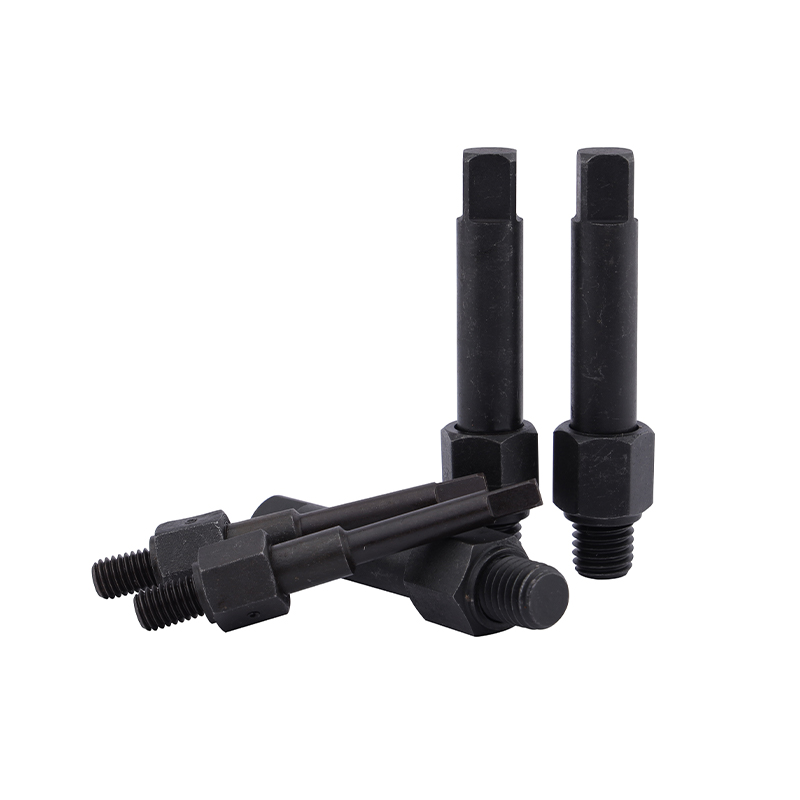
Self-tapping Insert Installation Tool
3. One-Step Installation Without Pre-Tapping
The most important advantage of the tool and insert combination is the ability to complete thread reinforcement without a separate pre-tapping stage. Traditional insert installation often requires drilling a pilot hole, tapping the hole, cleaning the hole, and then installing the insert. Each additional operation introduces time, equipment requirements, and opportunities for dimensional variation.
With a self-tapping insert, the hole is prepared according to the recommended pilot diameter and depth, and the insert is then driven directly into the component. The insert’s external geometry forms the engagement thread during installation. This approach can reduce the number of process steps and simplify workstations where space, equipment, or cycle time is limited.
One-step installation is especially valuable for high-volume production. A shorter installation sequence can reduce labor input and make it easier to integrate threaded inserts into semi-automated or automated assembly lines. It can also reduce the need to move parts between drilling and tapping stations.
The one-step process does not mean that preparation can be ignored. Correct pilot-hole diameter, hole depth, material condition, and alignment remain important. The advantage is that the external thread is created by the insert as part of the installation process, eliminating the need to cut a matching internal thread in the base material before installation.
For repair work, this feature is also useful. A damaged or oversized threaded hole in a low-strength component may be restored by preparing the opening for the appropriate self-tapping insert and installing the replacement insert with the correct tool. The resulting internal thread can provide a more dependable connection than the original damaged thread.
4. Coaxial Guidance and Alignment Accuracy
Alignment is one of the main differences between a specialized insert driver and a general-purpose tool. When a self-tapping insert enters the workpiece at an angle, the first threads may engage on one side before the opposite side has entered the hole. This can create cross-threading, uneven loading, excessive resistance, or damage to the component.
The installation tool uses a guiding structure to maintain a more coaxial relationship between the insert and the pilot hole. The guide may support the insert near its drive end, center the tool relative to the work surface, or stabilize the insert during the first turns of installation. By controlling the initial engagement, the tool helps the external cutting features enter the material progressively rather than abruptly.
Precise coaxial alignment is particularly important in thin panels, narrow bosses, molded plastic housings, and components with limited wall thickness. In these applications, even a small angular error can place excessive stress on one side of the hole. A guided tool helps reduce that risk and supports more uniform load distribution around the installed insert.
Alignment also affects the internal thread position. When the insert is installed vertically, the internal thread is more likely to remain correctly oriented relative to the component surface. This is important when the mating screw must pass through a cover, bracket, printed circuit board, or other precisely positioned part.
For production teams, consistent alignment can reduce variation between operators. It helps transform a skill-dependent operation into a more controlled process, particularly when the tool is used with a depth stop, torque control, or powered driver.
5. Controlled Torque for Different Base Materials
Torque control is another important feature of a reliable self-tapping insert installation system. The amount of torque required depends on insert size, external thread geometry, pilot-hole diameter, material hardness, material thickness, lubrication, and installation depth. A torque level that is suitable for an aluminum panel may be excessive for a thin plastic boss.
Insufficient torque can result in incomplete installation. The insert may stop above the specified position, fail to reach the required engagement length, or remain insufficiently supported by the surrounding material. The internal thread may then be misaligned with the mating screw, and the connection may not achieve its intended pull-out or torque resistance.
Excessive torque can be equally damaging. It may strip the newly formed external thread, enlarge the pilot hole, split a plastic boss, deform a thin wall, or embed the insert too deeply. In some cases, the operator may continue applying force after the insert has reached the correct position, creating unnecessary stress in the component.
A controlled installation tool allows the operator or assembly system to select a suitable torque range. Torque can be adjusted for different insert sizes and base materials, helping balance installation speed with connection quality. Where the tool itself does not contain an internal torque mechanism, it can be paired with a calibrated torque driver or powered screwdriver.
Torque should be validated through practical testing. Production engineers should examine installation torque, seating depth, pull-out resistance, prevailing torque, and the condition of the base material. A written installation specification should identify the insert type, pilot-hole size, target depth, recommended torque range, and inspection method.
6. High Wear Resistance and Service Life
Installation tools are exposed to repeated rotational loads, contact pressure, impact, and friction. If the drive section or insert-holding interface wears quickly, the tool may lose its ability to transfer torque efficiently. Slippage can damage the insert and create inconsistent installation results.
The self-tapping insert installation tool is manufactured from high-hardness alloy steel selected for strength, impact resistance, and wear resistance. A durable material helps the tool withstand repeated installation cycles while maintaining the geometry of the drive interface and guiding features.
High wear resistance is especially valuable in production settings where the same tool may be used hundreds or thousands of times. A longer service life can lower the total cost of ownership by reducing tool replacement frequency, unplanned downtime, and quality problems caused by worn contact surfaces.
Material selection must be supported by appropriate heat treatment, precision machining, and inspection. Hardness alone is not sufficient. A tool that is too hard but poorly processed may become brittle, while a tool with inadequate hardness may deform under repeated load. A balanced manufacturing process is needed to achieve a combination of toughness, dimensional stability, and surface durability.
Regular cleaning and inspection remain important even when the tool is made from wear-resistant alloy steel. Operators should check the drive interface for rounding, examine the guide for damage, remove chips and debris, and replace the tool when excessive wear begins to affect alignment or torque transfer.
7. Lightweight Design for Manual and On-Site Use
The tool is designed to be compact and lightweight so that it can be used comfortably during manual assembly, maintenance, repair, and field service. A lightweight tool reduces operator fatigue and makes it easier to work in restricted spaces or on large components that cannot be brought to a fixed workstation.
Compact dimensions are also helpful when the insert is located near a wall, flange, frame, or recessed feature. A long or bulky tool may interfere with surrounding parts, while a purpose-designed installation driver can provide access to the insert location with less obstruction.
For maintenance teams, portability is a practical advantage. A technician can carry the tool with a selection of inserts and a compatible torque driver to repair damaged threaded holes on equipment, vehicles, housings, or panels. The operation can often be completed without removing the entire assembly.
Lightweight construction must not compromise strength. The tool must retain sufficient rigidity to prevent bending or angular deflection during installation. Its ergonomic shape should also provide a stable grip and clear control of axial pressure.
8. Product Advantages Compared with General-Purpose Alternatives
General-purpose tools may appear less expensive at the time of purchase, but they often lack the alignment and torque-control features required for consistent insert installation. Pliers can damage the outer surface of an insert and cannot maintain coaxial alignment. A standard screwdriver may fit the internal drive feature but may not adequately support the insert during the first stages of engagement. A socket or improvised mandrel may transfer torque but provide insufficient guidance.
A specialized self-tapping insert installation tool provides several advantages:
First, it is designed around the geometry of self-tapping inserts. The drive interface is matched to the insert, reducing slippage and minimizing damage to the insert’s internal features.
Second, the guide structure supports vertical entry. This reduces cross-threading and helps maintain the correct position of the internal thread.
Third, the tool supports controlled torque application. This gives the operator greater control over installation in materials with different strength and stiffness characteristics.
Fourth, a dedicated tool improves process repeatability. When different operators use the same tool and installation specification, the variation in seating depth and connection quality can be reduced.
Fifth, the tool can reduce total assembly time by eliminating pre-tapping and simplifying the workstation. The improvement is particularly meaningful when many inserts are installed in each component.
Finally, the tool is supported by a manufacturer that also produces threaded inserts and related fastening products. This allows users to seek a more coordinated solution instead of selecting a tool and insert from unrelated sources with uncertain compatibility.
9. Comparison of Installation Methods
| Installation method | Pre-tapping required | Alignment control | Process efficiency | Typical suitability |
|---|---|---|---|---|
| General hand tool | Usually not applicable | Low | Low to moderate | Occasional, non-critical work |
| Conventional insert installation after tapping | Yes | Depends on equipment | Moderate | Applications requiring a previously tapped hole |
| Self-tapping insert with improvised driver | No | Low to moderate | Moderate | Temporary or low-volume work |
| Self-tapping insert installation tool | No | High | High | Production, repair, and controlled assembly |
| Powered driver with guided tooling | No | High | Very high | High-volume and semi-automated production |
The comparison shows that the specialized tool provides value through process control rather than through torque generation alone. The tool can be used manually, but its greatest advantage appears when it is integrated into a defined installation procedure with appropriate pilot-hole control and inspection.
10. Applications in Plastics and Light Alloys
10.1 Electronics and Electrical Housings
Electronic products often use plastic housings, aluminum panels, and molded structural parts. These components require secure mounting points for printed circuit boards, interface modules, heat sinks, covers, connectors, and brackets. A self-tapping insert creates a stronger and more serviceable thread than a screw driven directly into plastic.
The installation tool helps protect thin bosses and delicate housing features. Controlled torque reduces the likelihood of cracking, while coaxial guidance helps prevent the insert from entering at an angle. Once installed, the reinforced thread can support repeated maintenance or component replacement.
10.2 Automotive Components
Automotive interiors, dashboards, door panels, instrument assemblies, engine-related components, and transmission systems may contain plastic and aluminum parts that require durable threaded connections. Vibration, temperature changes, maintenance cycles, and limited wall thickness can make direct threads unsuitable.
Self-tapping inserts can provide stable connection points for decorative panels, functional modules, clips, sensor brackets, and serviceable covers. The installation tool supports consistent placement during assembly and helps reduce the risk of loose or misaligned fasteners.
Jinzhize supplies threaded connection products for automotive applications, including components associated with passenger and commercial vehicles. Its experience in this sector supports a practical understanding of the demands placed on thread consistency, traceability, and stable supply.
10.3 Household Appliances
Appliance manufacturers frequently use plastic shells, stamped metal panels, and light alloy brackets. Threaded inserts can be installed in control panels, motor housings, covers, handles, hinges, and internal support structures. A lightweight installation tool is useful when products are assembled at multiple workstations or when access to the installation point is restricted.
10.4 Repair and Thread Restoration
When a threaded hole in plastic or light alloy becomes stripped, replacing the entire component may be expensive or impractical. A self-tapping insert can restore the connection point if sufficient surrounding material remains. The installation tool helps the technician place the insert accurately and produce a reliable internal thread for the replacement screw.
10.5 Rail and Aerospace Manufacturing
Rail vehicles and aerospace structures place high demands on weight reduction, serviceability, and connection reliability. Threaded inserts are often used where direct threads in lightweight materials would not provide sufficient durability. Installation procedures in these industries must be carefully controlled, documented, and inspected.
A specialized driver can support repeatable installation in maintenance and production environments. However, the insert type, material compatibility, installation torque, and inspection requirements must always be selected according to the relevant engineering specifications and industry standards.
11. Manufacturing Process and Technical Strengths
The performance of an installation tool depends on more than its external appearance. Dimensional accuracy, material consistency, heat treatment, drive geometry, and final inspection all influence tool reliability. A manufacturer with dedicated production capabilities can control these factors more effectively than a trading supplier with limited process oversight.
Dongtai Jinzhize Metal Products Co., Ltd. was established in 2015 and operates a 10,000-square-meter owned manufacturing plant. The facility contains hundreds of machine tools and automated production systems, supporting the production of threaded connection products and related tools at scale.
An owned manufacturing facility provides several advantages. Production scheduling can be managed internally, manufacturing parameters can be monitored more closely, and quality feedback can be transferred more quickly from inspection to production. It also supports stable supply for customers that require recurring orders or multiple product categories.
The manufacturing process for a self-tapping insert installation tool may include material preparation, CNC machining, precision turning, milling or broaching of drive features, heat treatment, surface finishing, dimensional inspection, assembly, and functional testing. Each stage contributes to the final performance of the tool.
11.1 Material Preparation
High-quality alloy steel is selected according to the expected torque, impact, and wear conditions. Material certificates and incoming inspection help verify chemical composition, mechanical properties, and consistency between batches.
11.2 Precision Machining
Computer-controlled machining equipment produces the body, drive interface, guide section, and other functional surfaces. Accurate machining is important because small errors in the drive profile or guide diameter can affect insert engagement and alignment.
11.3 Heat Treatment
Heat treatment improves hardness and wear resistance while maintaining adequate toughness. The treatment must be controlled to avoid excessive distortion or brittleness. Finished components may be checked for hardness and dimensional stability after processing.
11.4 Surface Finishing
Surface finishing can improve corrosion resistance, reduce friction, and provide a smoother contact surface. The selected finish should not interfere with the dimensional fit of the drive or guide areas.
11.5 Functional Inspection
Inspection may include dimensional measurement, drive-interface verification, guide concentricity, torque-transfer testing, and trial installation with compatible inserts. Functional testing is particularly valuable because a tool can meet individual dimensional requirements yet still perform poorly if the complete system is not evaluated.
Jinzhize maintains a quality management system and an after-sales service mechanism intended to support product consistency and customer use. Its design, development, and production team can assist in matching tools to insert sizes, base materials, and installation requirements.
12. Quality Management and Traceability
Threaded connections used in automotive, aerospace, rail, and industrial equipment may be part of safety-relevant or service-critical assemblies. For these applications, quality management must extend beyond final visual inspection. Raw materials, machining processes, heat treatment, inspection results, and shipment information should be traceable where required.
Traceability helps manufacturers identify the production batch, tooling condition, inspection status, and applicable specifications associated with each delivery. If a quality issue appears in the field, traceable records can help determine whether the cause relates to material, processing, installation, or application conditions.
Consistent quality also benefits distributors and end users. A stable tool geometry makes it easier to establish installation parameters and maintain those parameters over time. In contrast, variation between batches may require repeated process validation and increase the risk of inconsistent assembly results.
Customers should ask suppliers about inspection documentation, batch identification, dimensional reports, material certificates, and available test data. For critical applications, they may also request samples for validation before placing a larger order.
13. Installation Procedure
A practical installation procedure should be developed for each insert and base-material combination. The following sequence provides a general framework, but the insert supplier’s technical requirements should take priority.
Step 1: Inspect the Component
Confirm that the component is free from cracks, severe deformation, contamination, and other conditions that could reduce insert holding strength. Check that sufficient material surrounds the pilot hole.
Step 2: Prepare the Pilot Hole
Drill or mold the pilot hole to the specified diameter and depth. The hole should be clean and free from excessive burrs, chips, oil, or loose material. An incorrect pilot-hole diameter can significantly affect installation torque and pull-out performance.
Step 3: Select the Correct Tool
Choose an installation tool compatible with the insert’s internal drive feature and size. Confirm that the tool guide and drive section are not worn or damaged.
Step 4: Set the Torque
Use the recommended torque range for the insert, base material, and installation depth. When necessary, conduct a trial installation on a representative sample and verify the seating condition.
Step 5: Position the Insert
Place the insert squarely over the pilot hole. Keep the tool and insert coaxial with the hole before applying rotational force.
Step 6: Drive the Insert
Apply steady axial pressure and rotate the tool at a controlled speed. Avoid sudden impact or excessive side loading. Allow the external cutting or forming features to engage progressively.
Step 7: Stop at the Correct Depth
Stop when the insert reaches the specified position. Do not continue tightening after the insert is fully seated unless the installation specification requires a particular additional operation.
Step 8: Inspect the Result
Check the installation depth, alignment, visible damage, and internal thread condition. A compatible screw or gauge may be used to verify thread accessibility and engagement.
14. Common Installation Problems and Solutions
Insert Tilting
Tilting may be caused by poor initial positioning, an oversized pilot hole, insufficient tool guidance, or excessive side force. Use a coaxially guided tool, verify the pilot-hole dimensions, and ensure that the workpiece is securely supported.
Excessive Installation Torque
High torque may result from an undersized pilot hole, material contamination, burrs, incorrect insert selection, or a damaged tool. Check the hole diameter, clean the component, and confirm that the insert and driver are compatible.
Insert Stops Before Reaching the Required Depth
This problem may occur when the pilot hole is too shallow, chips are trapped at the bottom, or the tool cannot transfer sufficient torque. Clean the hole, confirm the depth, and inspect the drive interface for wear.
Plastic Boss Cracking
Cracking can result from excessive torque, insufficient wall thickness, brittle material, incorrect pilot-hole size, or installation too close to an edge. Reduce the torque after validation, review the component design, and select an insert size appropriate for the available material.
Drive Slippage
Drive slippage is commonly associated with a worn tool, poor engagement, contamination, or the wrong tool size. Replace worn tooling and ensure that the driver fully engages the insert before rotation begins.
Final Screw Does Not Engage Smoothly
The internal thread may be damaged, contaminated, or misaligned. Check the insert orientation, installation depth, tool alignment, and final screw specification. Do not force the screw into a visibly damaged internal thread.
15. Design Considerations for Engineers
Engineers should consider the insert and installation tool during the early design stage rather than treating them as late-stage components. The surrounding wall thickness, boss diameter, hole depth, edge distance, and expected load all affect the performance of the finished connection.
The pilot hole should be specified with an appropriate tolerance. A hole that is too large may reduce thread engagement, while a hole that is too small may increase installation torque and damage the base material. Molded holes, drilled holes, and machined holes may require different process controls.
Installation depth should be sufficient to develop the required holding strength without breaking through the component or interfering with internal features. If the insert is installed near a thin wall, the designer should evaluate hoop stress and the possibility of splitting.
Temperature, vibration, chemical exposure, and maintenance frequency should also be considered. A connection in an engine compartment may experience different conditions from one inside a household appliance or electronic enclosure.
The mating screw must be compatible with the internal thread. Correct diameter, pitch, length, strength grade, and surface treatment are necessary to achieve the intended performance. The screw should engage the full effective internal thread without bottoming out against the closed end of the insert or contacting an obstruction.
16. Why Manufacturer Experience Matters
A supplier that produces only one type of tool may not fully understand the interaction between insert geometry, base material, and installation conditions. A manufacturer with a broader threaded product portfolio can evaluate the complete connection system more effectively.
Jinzhize manufactures helical wire inserts, self-tapping inserts, key-locking inserts, threaded adapters, oil plugs, installation taps, and related tools. This product range enables the company to support different repair, reinforcement, conversion, and fastening requirements.
The company’s products are used in automotive, aerospace, rail vehicle, electronics, and other industrial applications. Its experience with multiple industries contributes to a broader understanding of supply consistency, application requirements, and long-term connection reliability.
The company reported an annual output value of 153 million RMB in 2024, indicating established production capacity and the ability to support larger-scale orders. For international customers, capacity is important because a technically suitable product is not sufficient if the supplier cannot maintain delivery schedules or repeat the same quality over time.
A manufacturer’s service capability also matters. Customers may need help selecting insert sizes, confirming pilot-hole dimensions, choosing installation tools, developing torque parameters, or resolving field issues. Technical communication before mass production can prevent avoidable problems after delivery.
17. Purchasing and Supplier Evaluation
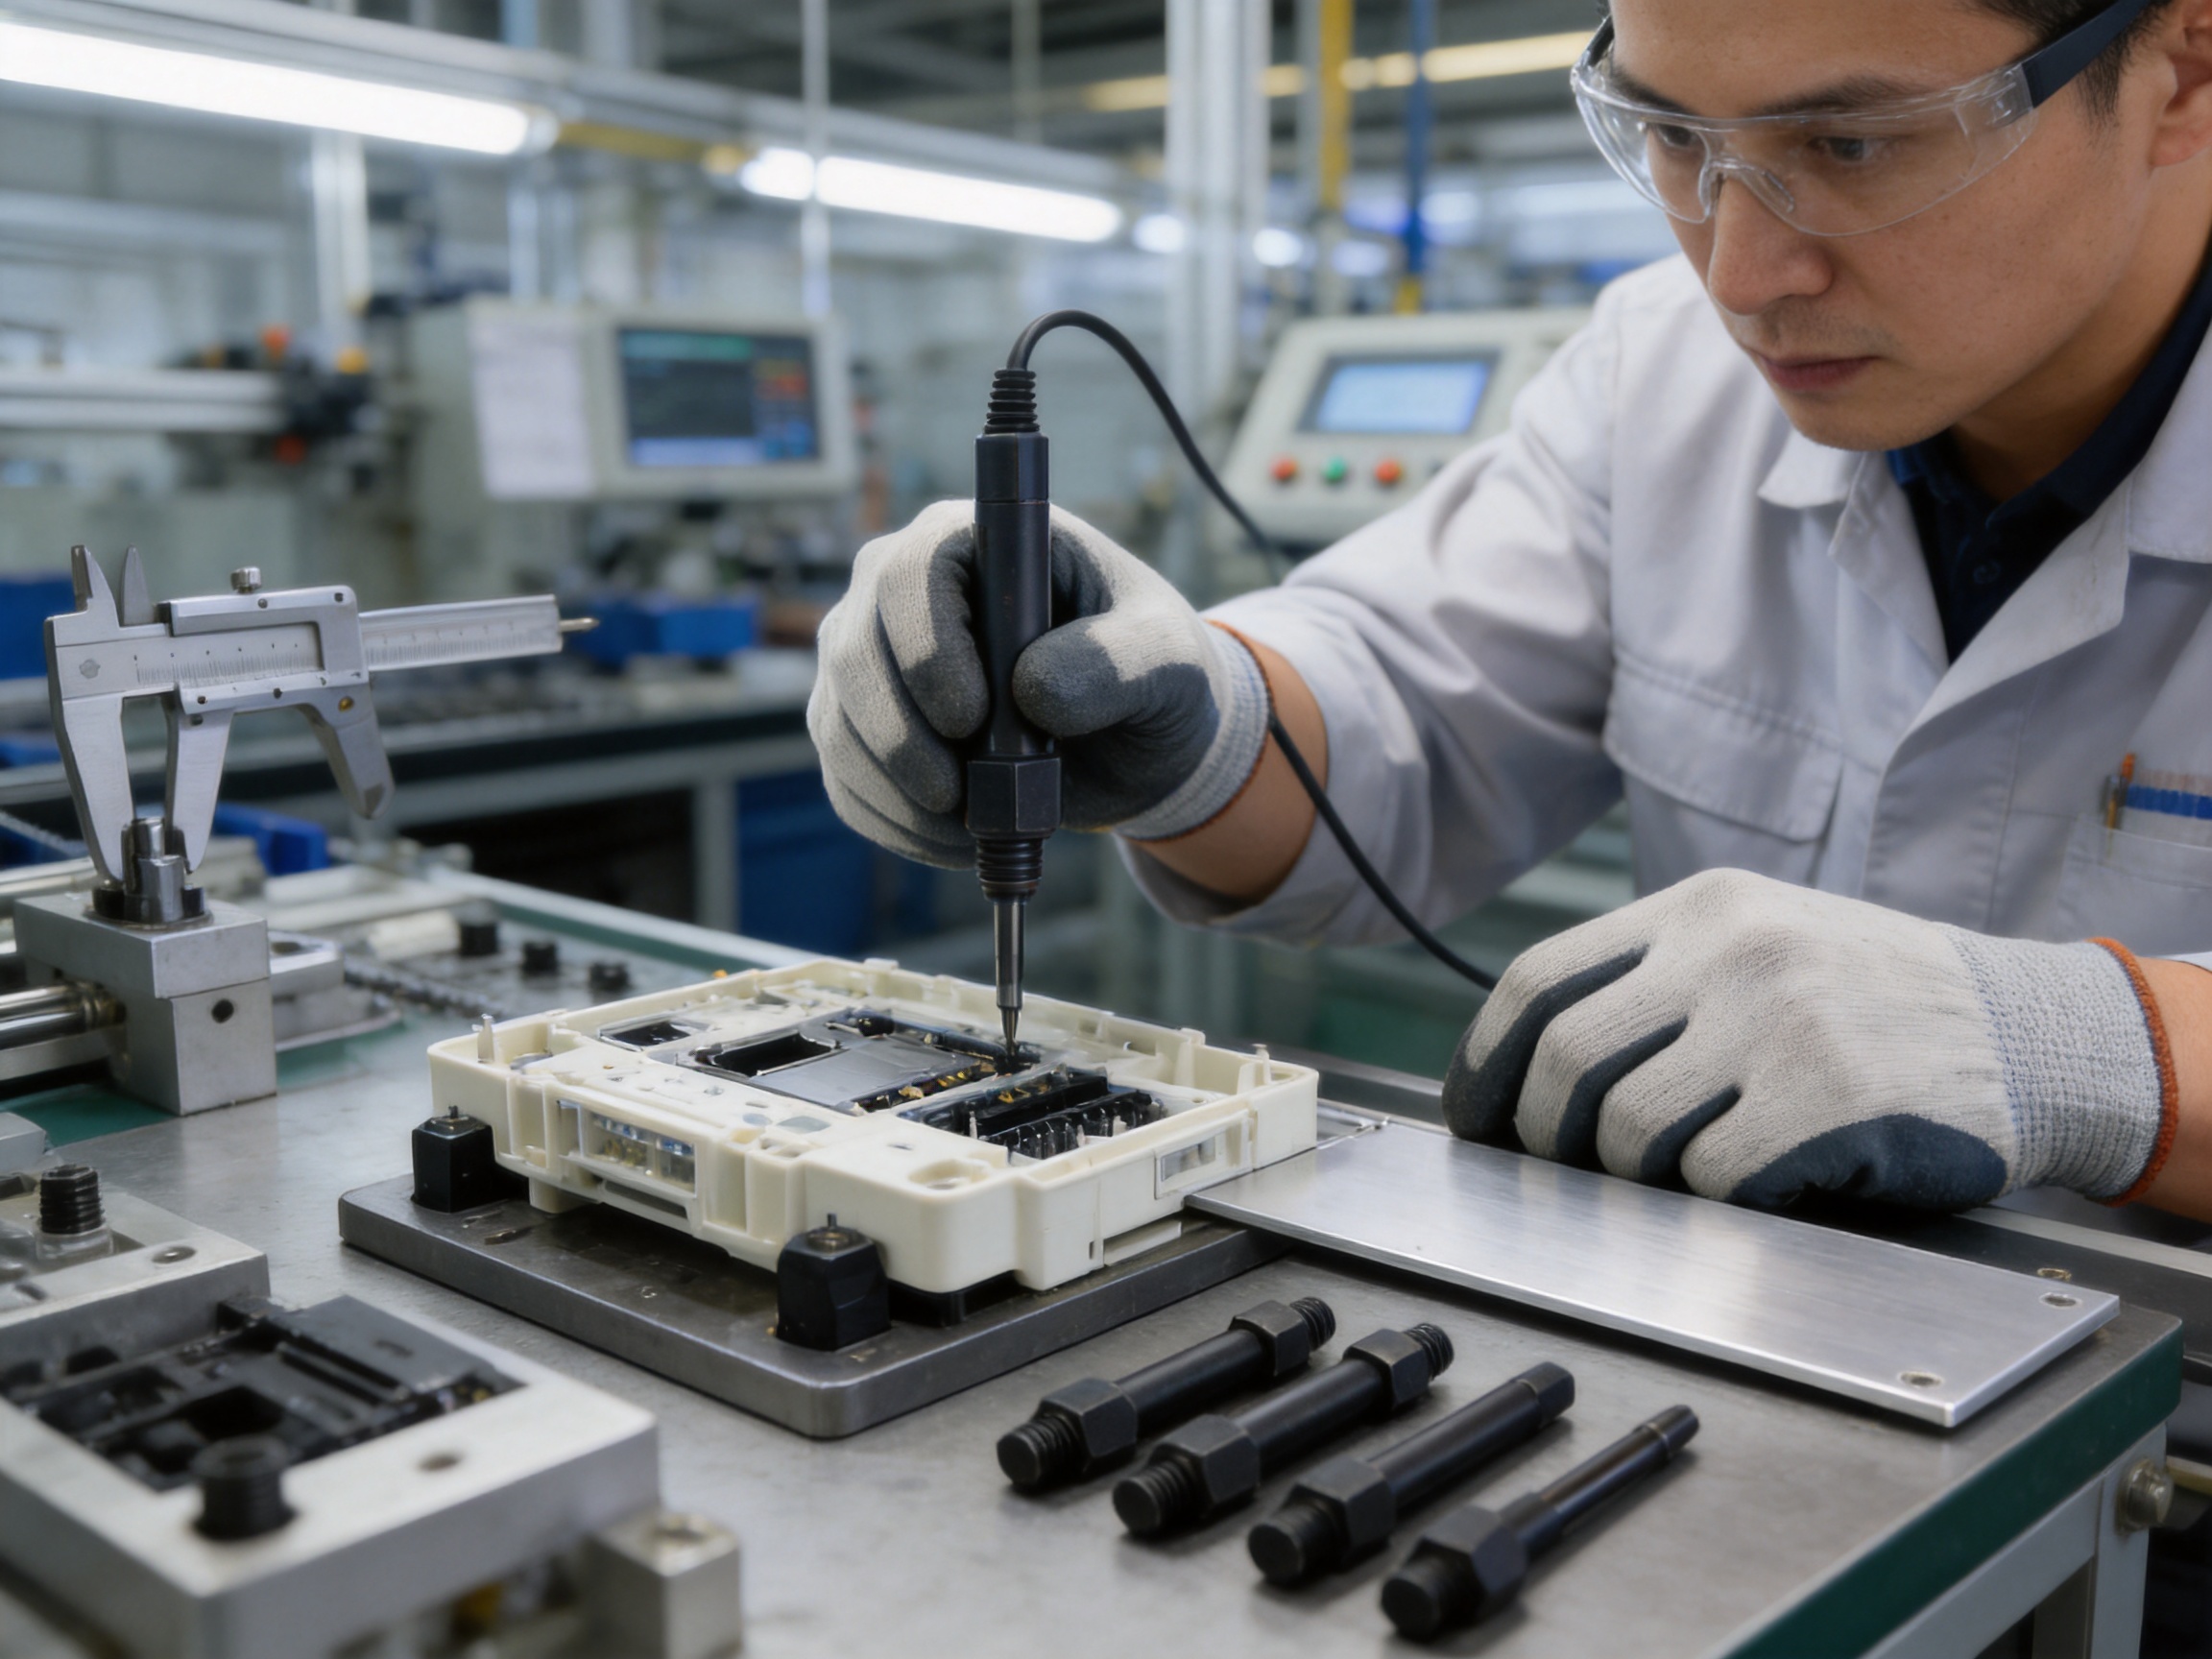
When purchasing self-tapping insert installation tools, buyers should evaluate more than unit price. The tool’s compatibility, service life, installation consistency, and supplier support all affect the total cost of the fastening process.
Important evaluation points include the supported insert sizes, drive-interface design, guide dimensions, material grade, hardness, surface treatment, torque-control options, packaging, inspection records, and replacement availability.
Buyers should also clarify whether the tool is intended for manual operation, torque-controlled hand use, pneumatic equipment, electric screwdrivers, or automated systems. The tool must be compatible with the available equipment and the expected installation volume.
For custom requirements, customers should provide drawings or samples of the insert and workpiece, base-material information, pilot-hole dimensions, installation depth, expected torque, and annual demand. This information helps the manufacturer recommend a suitable configuration and identify potential risks before production begins.
Trial orders are useful for verifying installation performance. During evaluation, users should record installation torque, cycle time, seating depth, visible damage, pull-out strength, and final screw engagement. These results can be compared with the production specification before a larger order is approved.
18. Maintenance and Tool Management
Proper tool management extends service life and supports stable installation quality. Tools should be stored in a clean, dry location and protected from impact. They should not be mixed with loose metal parts that could damage the guide or drive interface.
At the start of each shift, operators should check for visible wear, deformation, contamination, or loose components. The tool should be cleaned after use, especially when chips or plastic debris accumulate around the guide section.
Where installation torque is controlled externally, the torque driver should be calibrated at the specified interval. A worn or inaccurately calibrated torque driver can undermine the performance of an otherwise reliable insert tool.
Tool life should be tracked by installation cycles or by inspection condition. Replacing the tool before severe wear occurs is usually less expensive than dealing with damaged inserts, rejected components, or field failures.
19. Sustainability and Cost Efficiency
Self-tapping insert systems can contribute to material efficiency by allowing lightweight components to achieve durable threaded connections. Designers may use plastic or light alloy components while reinforcing only the locations that require repeated fastening or higher load capacity.
One-step installation can also reduce energy use and equipment requirements associated with separate tapping operations. Fewer process stages may reduce handling, tooling changes, and work-in-process inventory.
Long tool life supports sustainability by reducing the number of tools consumed over the product life cycle. Consistent installation reduces scrap and rework, which can be especially valuable when components are expensive or difficult to recycle.
Cost efficiency should be measured across the complete process. A low-priced tool that creates inconsistent installations may result in higher costs through rejected parts, service repairs, production interruptions, and warranty claims. A durable, accurately manufactured driver can provide better value even if its initial purchase price is higher.
20. Frequently Asked Questions
Q1: What is a self-tapping insert installation tool used for?
It is used to drive self-tapping threaded inserts into prepared holes in materials such as plastic, aluminum, magnesium alloy, and other low-strength substrates. The tool transfers torque to the insert while maintaining alignment during installation.
Q2: Is pre-tapping required before installing a self-tapping insert?
Normally, no. A self-tapping insert is designed to create or form its external engagement thread as it enters the pilot hole. The hole must still be prepared to the correct diameter and depth.
Q3: Can the tool be used for plastic components?
Yes. It is particularly suitable for plastic housings, bosses, dashboards, door panels, appliance shells, and similar components. Torque and pilot-hole dimensions should be selected according to the plastic type and component design.
Q4: Can it be used with aluminum panels?
Yes. The tool can be used to install self-tapping inserts in aluminum panels and light alloy components when the insert type and installation parameters are appropriate for the material thickness and strength.
Q5: Why is coaxial alignment important?
Coaxial alignment helps the insert enter vertically and engage the surrounding material evenly. It reduces the risk of tilting, cross-threading, uneven loading, and damage to thin or delicate components.
Q6: How is installation torque selected?
Torque depends on insert size, external thread geometry, pilot-hole dimensions, base material, installation depth, and friction conditions. The correct value should be established through supplier recommendations and representative installation testing.
Q7: Can one tool install every self-tapping insert?
No. Tools are generally selected according to insert size, internal drive feature, and application requirements. Users should confirm compatibility before installation.
Q8: What causes a plastic boss to crack during installation?
Possible causes include excessive torque, an undersized pilot hole, inadequate wall thickness, brittle material, installation too close to an edge, or an insert that is too large for the component.
Q9: How can tool life be extended?
Keep the tool clean, avoid side loading, use the correct torque, inspect the drive interface regularly, store the tool properly, and replace it when wear begins to affect alignment or torque transfer.
Q10: Is the tool suitable for production lines?
Yes. It can be used manually or paired with a calibrated torque driver, pneumatic system, electric driver, depth stop, or semi-automated workstation. The best configuration depends on production volume and process requirements.
Q11: Can the tool be used for thread repair?
Yes. It can support the installation of self-tapping inserts used to restore damaged threaded holes in low-strength materials, provided that enough surrounding material remains and the repair design is suitable.
Q12: What information should be provided when requesting a quotation?
Provide the insert drawing or sample, internal thread specification, base-material type, pilot-hole dimensions, required installation depth, expected annual quantity, operating method, and any required inspection or documentation.
21. Conclusion
The self-tapping insert installation tool is a practical solution for creating reliable threaded connections in plastics, aluminum, light alloys, and other low-strength materials. Its value comes from the combination of one-step installation, precise coaxial guidance, controlled torque transfer, high wear resistance, and lightweight handling.
Compared with general-purpose alternatives, the specialized driver provides better control over the installation process. It helps reduce misalignment, tool slippage, excessive tightening, component damage, and variation between operators. When integrated with the correct insert, pilot-hole specification, torque setting, and inspection procedure, it can improve both assembly efficiency and connection reliability.
Dongtai Jinzhize Metal Products Co., Ltd. supports this product with an established manufacturing facility, automated production systems, extensive machine capacity, quality management practices, and experience across automotive, aerospace, rail, electronics, and other industrial fields. Its broader range of threaded connection products enables customers to obtain coordinated solutions for reinforcement, repair, thread conversion, and fastening.
For companies seeking stable and repeatable threaded connections, the correct installation tool should be treated as an important production component rather than an optional accessory. Careful product selection, process validation, supplier evaluation, and tool maintenance can reduce procurement and usage risks while supporting long-term manufacturing performance.
References
1. General engineering principles for threaded fasteners, insert installation, torque control, and mechanical joint design.
2. Manufacturer technical information for self-tapping threaded inserts and compatible installation tools.
3. Standard practices for pilot-hole preparation, torque validation, dimensional inspection, and thread-gauge verification.
4. Industrial guidelines for fastening systems used in plastics, aluminum alloys, automotive components, and lightweight structures.
5. Quality management and traceability practices for precision metal components and production tooling.
6. Product and company information supplied for Dongtai Jinzhize Metal Products Co., Ltd., including manufacturing capacity, product categories, applications, and service capabilities.